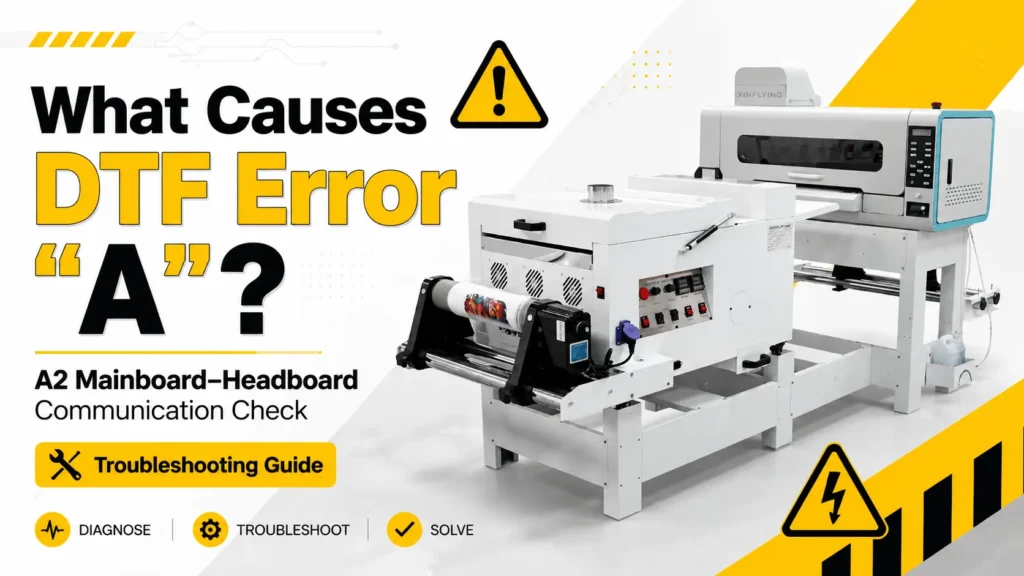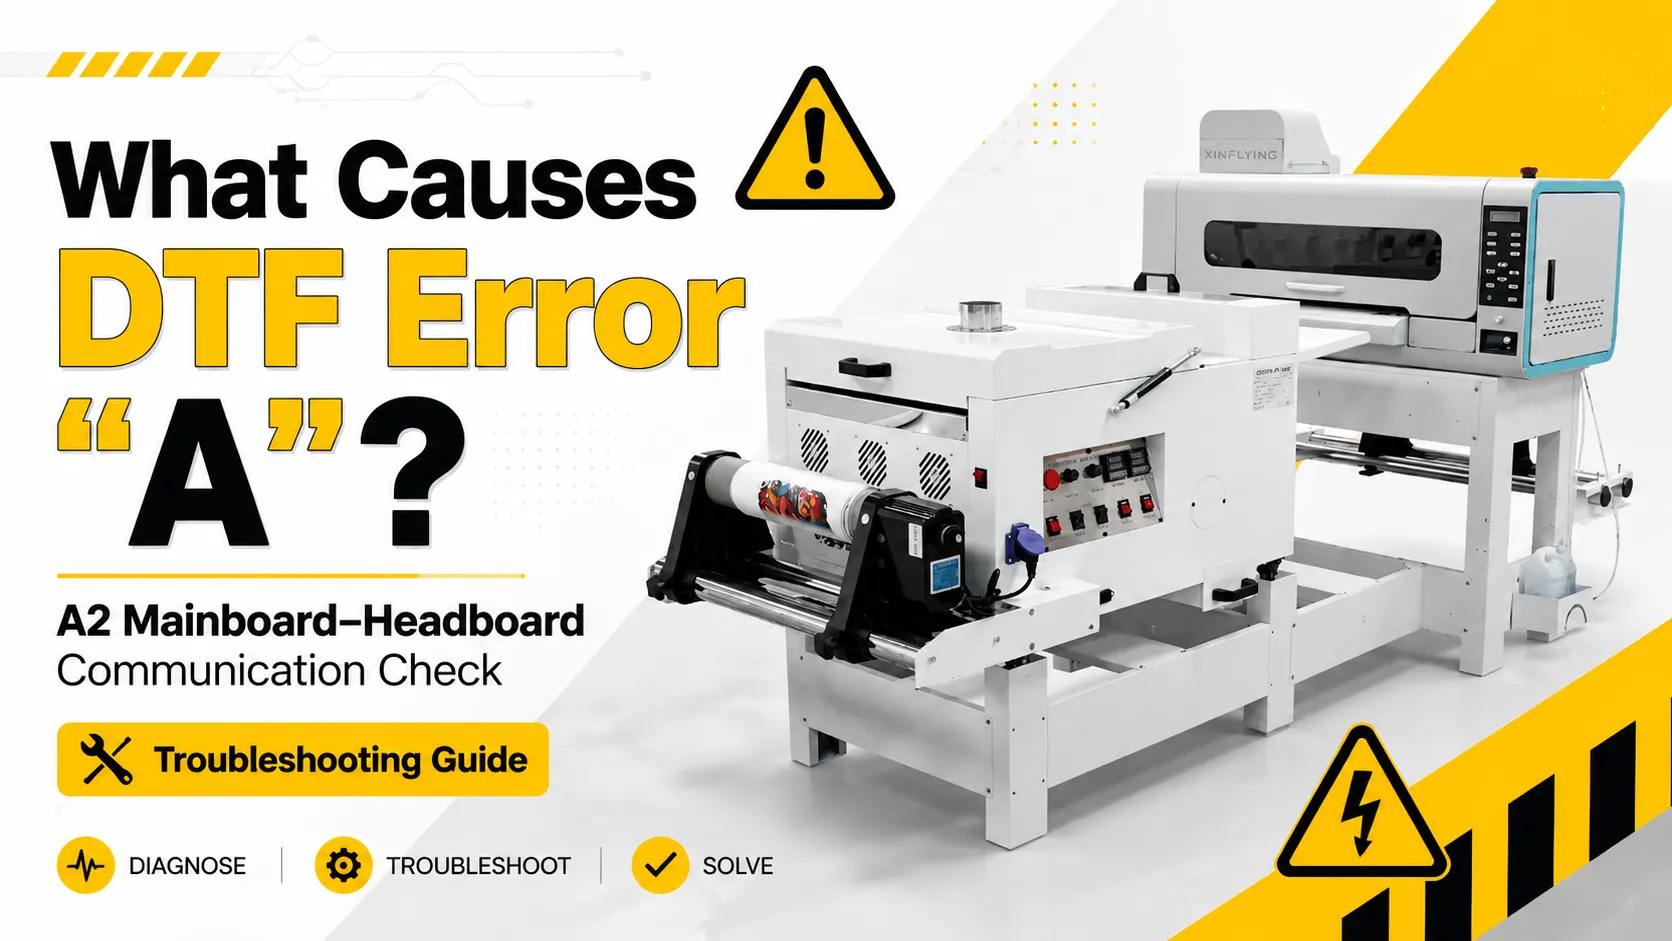
A headboard-mainboard communication error means the printer is not completing the expected data link between its control boards. On the XINFLYING A2 All-in-One Printer, the supplied FAQ says the letter “A” on the headboard or mainboard display indicates that this connection has failed. Because codes differ by model and firmware, confirm the meaning before using this article on another machine.
For the A2, diagnosis begins with the inter-board cable and its connections. If the cable is confirmed good, the headboard and mainboard must be tested one at a time by a qualified technician.
Do Not Treat Every “A” as the Same Error
Record the complete display, not just one character. A letter can appear as part of a startup sequence, a channel identifier, or an error code on different systems.
Before opening the machine, collect:
- the printer model and serial number;
- a photo or video of both board displays;
- the startup stage when the code appears;
- any related message in the printer or RIP software; and
- recent cable, board, printhead, or firmware work.
Send this evidence to support if the code meaning is not documented for your exact model.
How the Communication Path Fails
The A2 FAQ identifies two diagnostic levels:
- The cable between the headboard and mainboard is damaged or has poor contact.
- If the cable is good, either the headboard or mainboard has a fault.
This sequence prevents unnecessary board replacement. A cable can look intact while being partially inserted, folded too tightly, contaminated, or damaged internally.
Operator-Level Checks
An operator can perform noninvasive checks before requesting board-level service:
- Shut down the printer using the normal procedure.
- Confirm that the code returns after one controlled restart.
- Note whether the printer was recently moved or serviced.
- Look for external signs of a loose cover, pinched harness, liquid spill, or impact.
- Keep the printer off if there is odor, heat, visible liquid, or damaged wiring.
Do not press internal connectors while the printer is powered. Do not remove covers that expose energized components unless you are trained and authorized to do so.
Technician Step 1: Inspect the Inter-Board Cable
With power isolated according to the service procedure, inspect the cable that links the mainboard and headboard. Confirm:
- the part is correct for the model;
- both connectors are in their assigned sockets;
- orientation and insertion depth are correct;
- locks or retainers are fully engaged;
- the cable has no cut, crushed section, severe fold, or exposed conductor; and
- connectors are dry and free of ink or residue.
Label both ends before removal. Reconnect one cable at a time so the original routing and socket assignments are preserved.
If a compatible known-good cable is available, the technician may use it according to the service manual. A successful test with that cable points to the original cable or connection rather than a board.
Technician Step 2: Isolate the Headboard and Mainboard
If cable inspection and an authorized cable test do not restore communication, the A2 FAQ says to test the headboard and mainboard individually by replacement. This means using a verified compatible part and changing one component at a time.
| Test result | Next interpretation |
|---|---|
| Communication returns after cable correction | Cable routing, contact, or cable damage caused the fault |
| Communication returns with a verified headboard | Original headboard is the primary suspect |
| Communication returns with a verified mainboard | Original mainboard is the primary suspect |
| Error remains after multiple parts are changed | Stop and recheck compatibility, power, configuration, and the official test procedure |
Board replacement can require firmware, configuration, or calibration. Do not assume a physically compatible connector makes a board electrically or logically compatible.
Common Diagnostic Mistakes
Avoid these actions because they can hide the original fault or create a new one:
- replacing both boards at the same time;
- moving several unlabeled cables at once;
- reconnecting a cable while power is present;
- using a board from another configuration without compatibility confirmation;
- ignoring ink contamination near a connector; or
- resetting software repeatedly when the boards do not communicate at startup.
One controlled change and one recorded result is the most efficient approach.
What to Send XINFLYING
Include photos of the display code, both board labels, cable routing, and connector condition. Add the machine model, serial number, power region, event timeline, and any known-good cable or board test already completed by a technician.
Different XINFLYING DTF printer configurations may use different control hardware. Submit an inquiry before ordering a cable or board so compatibility and the correct test sequence can be confirmed.