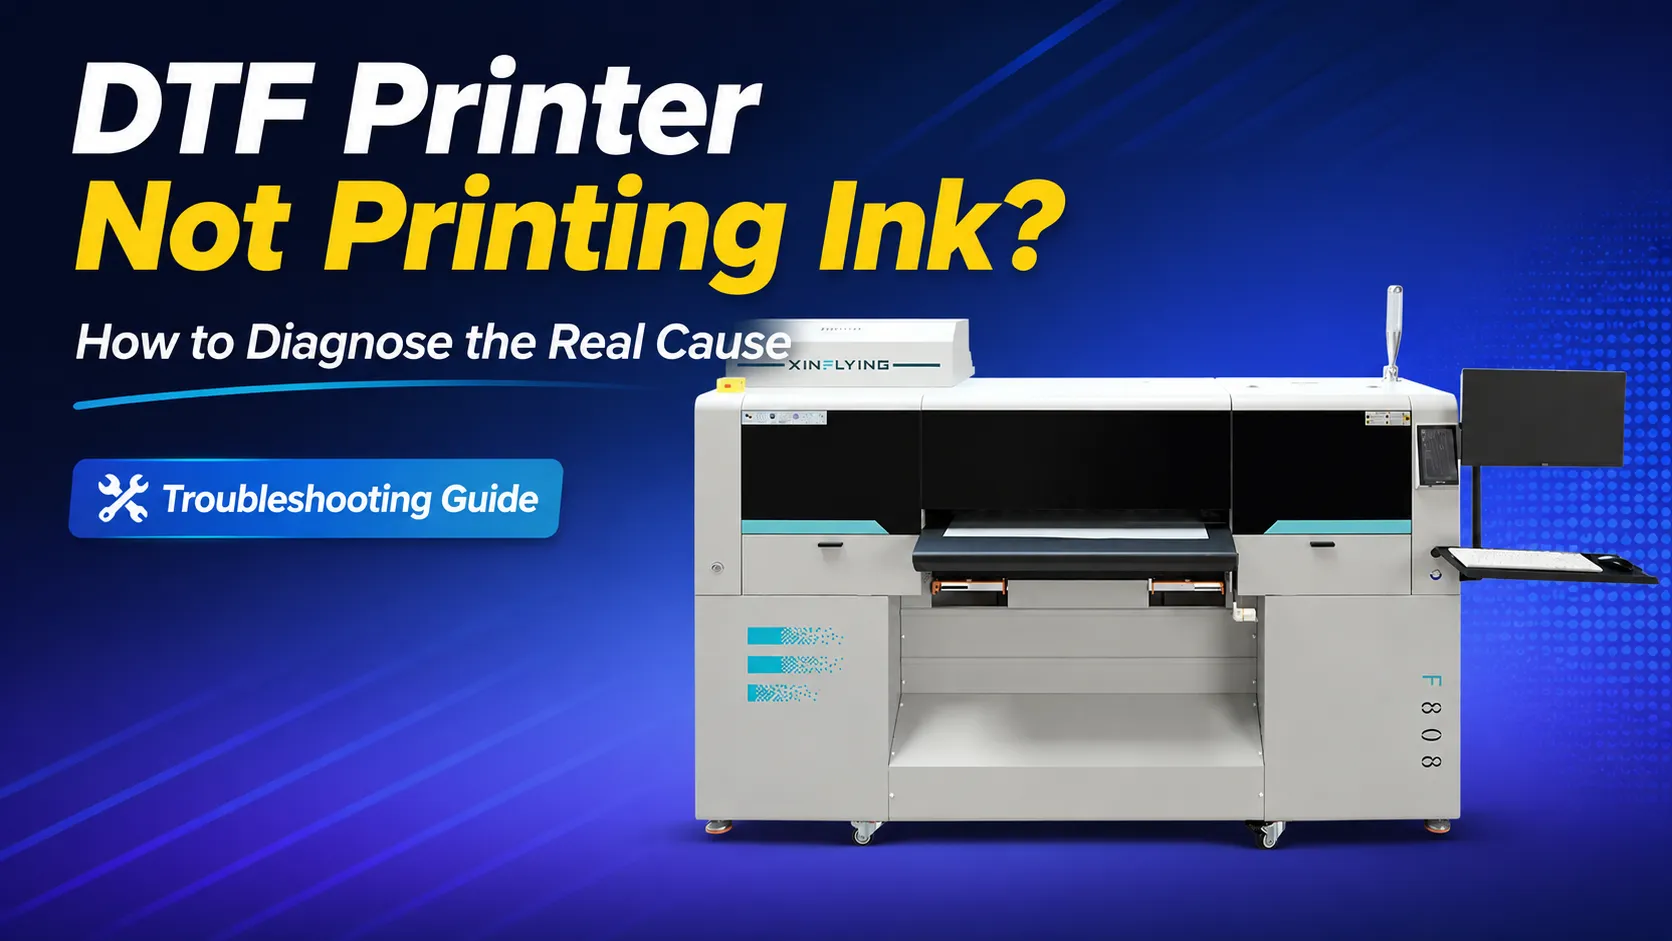
When a DTF printer stops printing ink, first determine whether the issue affects all colors, one color, or one printhead. Check the ink supply, air bubbles, dampers, capping station, and nozzle test before treating the problem as an electrical fault. If the headboard shows an alarm or ink is present on a cable, power down the printer and contact support.
The checks below move from low-risk causes to technician-only diagnosis. Component positions, indicator meanings, head voltages, cable orientation, and approved tests vary by printer model, so use the service documentation for your exact machine.
Important: Do not reconnect printhead cables while the printer is powered. Do not energize a wet connector. Unapproved flushing, excessive syringe pressure, or moving a printhead to an unverified channel can damage the printhead and headboard.
Terms Used in This Guide
- RIP software: The software that prepares the artwork, color channels, and print data sent to the printer.
- Damper: A small ink-control component between the supply line and printhead. It helps regulate ink flow and may include a filter, depending on the design.
- Capping station: The assembly that seals against the printhead during cleaning and helps the pump draw waste ink.
- Headboard: The circuit board that sends power and firing signals to the printhead.
Quick Diagnosis: What Is Not Printing?
The failure pattern can help you choose the right starting point.
| Symptom | More likely areas to check first | Recommended response |
|---|---|---|
| All colors are missing | Ink supply, closed valve, pump or capping problem, printer state, RIP output, power, or headboard fault | Check basic supplies, alarms, and the standard nozzle-test workflow |
| One color is missing | Ink level, air in the line, damper restriction, settled ink, channel-specific clog, cable contact, or head damage | Inspect the affected ink path and compare the nozzle pattern |
| White ink is missing or weak | White-ink circulation, sediment, agitation, damper, cap seal, nozzle condition, or settings | Follow the model’s white-ink maintenance procedure before electrical testing |
| Ink can be drawn at the capping station, but a head remains blank | Nozzle blockage, damper restriction, cap-seal issue, cable, firing signal, headboard channel, or printhead electronics | Do not assume that suction proves the entire ink path is clear |
| Several heads stop and the headboard shows a warning | Headboard, cable connection, power condition, or a connected component pulling the system into fault | Record the warning, shut down normally, and escalate |
| Ink is visible on a cable or connector | Liquid contamination and possible electrical damage | Power down and do not restart the printer |
Checks Printer Owners Can Perform
Complete these checks before opening an electrical area or disconnecting a printhead cable.
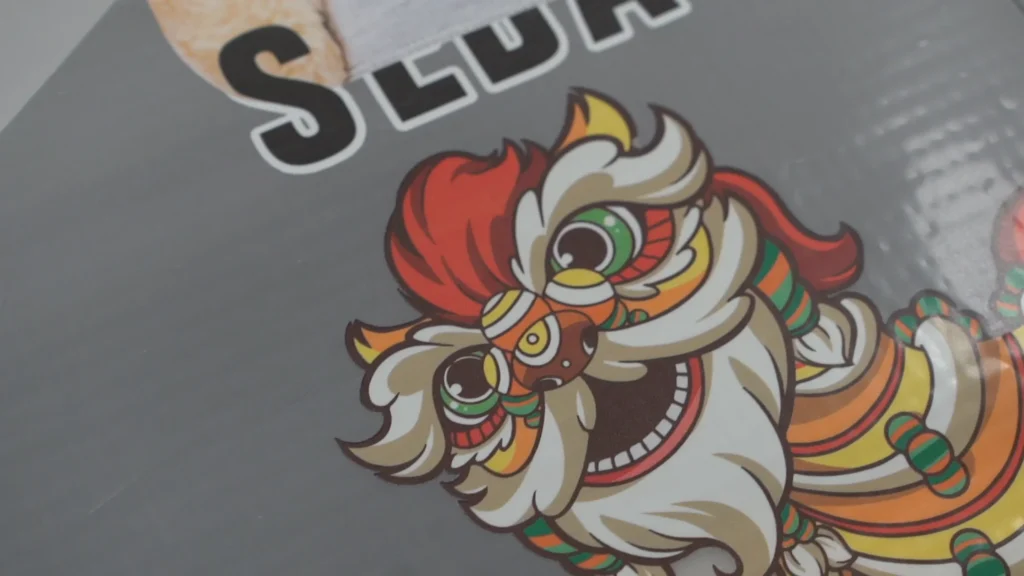
1. Confirm the Printer and Job Are Ready
Before opening the printer, eliminate simple operating causes:
- Confirm that the printer is online, initialized, and free of active alarms.
- Verify that the intended job and correct printer are selected in the RIP software.
- Check that the affected colors or channels are enabled and mapped correctly.
- Confirm that ink is available, supply valves are open where applicable, and no container is creating a vacuum-lock condition.
- Note whether the failure began after a power interruption, firmware change, profile change, or maintenance procedure.
If the printer stopped immediately after a settings or firmware change, document that event before resetting or reinstalling anything. It may be more useful to support than another cleaning cycle.
2. Inspect the Ink Supply and Lines
Look for conditions that could interrupt ink before it reaches the printhead:
- low, expired, contaminated, or incorrectly installed ink;
- closed valves or pinched supply tubes;
- large air gaps or persistent bubbles in the ink line;
- leaks around tanks, filters, lines, dampers, or fittings;
- sediment or poor circulation in the white-ink system; and
- a damper that is empty, collapsed, leaking, or visibly restricted.
Do not use household solvents or an unapproved cleaning fluid. Ink chemistry and printhead materials differ, and the wrong fluid can damage seals, dampers, and nozzle plates.
For white ink, follow the machine’s required agitation and circulation schedule. Repeated cleaning is not a substitute for correcting settled ink, a circulation fault, or an air leak.
For preventive routines beyond this fault, see the DTF printer maintenance guide.
3. Check the Capping Station, Wiper, Pump, and Waste Line
The capping station must seal against the printhead during cleaning. A dirty, damaged, misaligned, or dried cap can prevent the pump from creating stable suction even when the pump itself is operating.
With the printer safely parked and powered down according to its manual, visually check for:
- dried ink or debris on the cap and surrounding area;
- a cap that does not align evenly with the printhead;
- a damaged or heavily deformed cap seal;
- a blocked, loose, pinched, or leaking waste tube; and
- unusual pump noise without corresponding ink movement.
Use only the approved maintenance procedure. A syringe-assisted suction test should be performed only by a trained technician because excessive suction or pressure can damage the printhead.
If no ink can be drawn at all, stop before moving to electrical checks. Follow the dedicated guide to diagnosing the DTF ink path safely.
4. Run a Nozzle Test and Interpret the Pattern
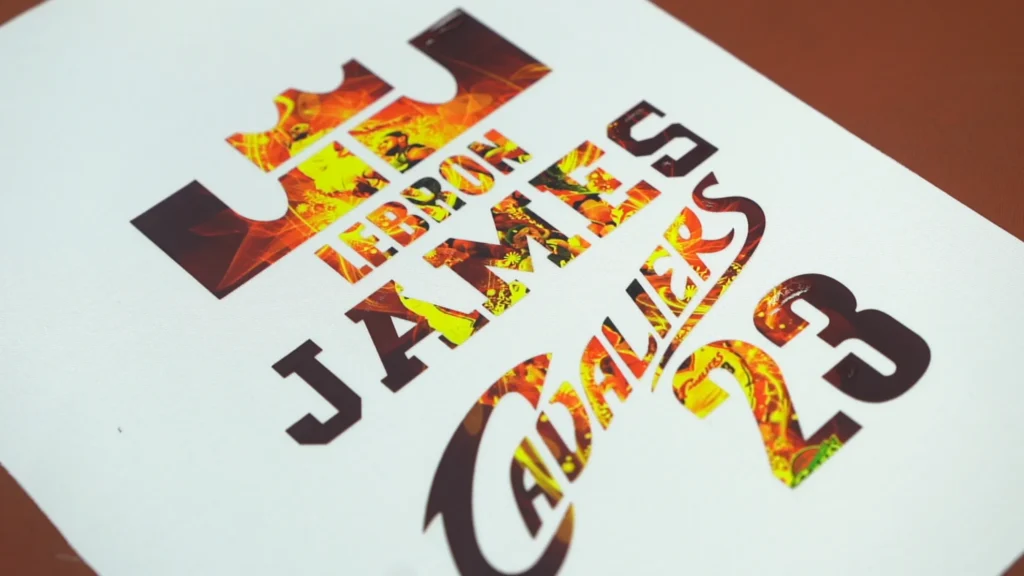
Print a nozzle test before and after any approved maintenance step. Save a photo rather than relying on memory.
If the pattern remains incomplete after cleaning, compare the result with the DTF nozzle-check troubleshooting guide.
- A few missing nozzles: contamination, drying, a small air gap, or an early restriction may be involved.
- One color or channel completely blank: check its ink supply, damper, line, cap contact, and channel settings before assuming the head has failed.
- An entire printhead blank: both ink-path and electrical causes remain possible.
- The pattern changes after cleaning: an ink-delivery, air, cap-seal, or nozzle-condition issue is more likely, but the result is not conclusive.
- No change after one approved cleaning cycle: stop repeating cleanings and move to diagnosis. Excessive cleaning wastes ink and may worsen flooding or contamination.
Being able to draw ink through the capping station narrows the diagnosis. It does not prove that every damper, nozzle channel, or electrical firing circuit is working.
5. Review What Happened Before the Failure
The timeline often reveals which system should be checked first. Record whether the problem followed:
- a printhead strike or lifted film;
- a damper, fitting, or ink-line leak;
- printhead, damper, or cable replacement;
- maintenance around the cap or wiper;
- a long idle period;
- a power interruption; or
- a software, profile, or firmware change.
This information helps technical support distinguish an ink-delivery problem from settings, electrical, or mechanical damage.
Checks for Authorized Technicians
Stop the owner-level workflow here if the next step requires access to a powered electrical area, a cable inspection, or a channel-isolation test.
6. Check for a Model-Specific Warning or Headboard Fault
Observe indicators without touching internal components while the printer is energized. Record the LED behavior and any message shown by the printer or control software.
On the XINFLYING A2 All-in-One Printer, a flashing red headboard indicator directs a qualified technician to a separate cable, printhead, and board isolation procedure. Other models may use different indicators and fault logic; do not apply the A2 signal meaning to another machine without its documentation.
For the A2-specific warning path, review what to check when the DTF headboard red light flashes before disconnecting components.
If a warning is present:
- Stop the test.
- Record the LED behavior and display message.
- Shut the printer down normally.
- Isolate power according to the service procedure.
- Contact XINFLYING support before disconnecting or moving printhead cables.
Resolve the warning before using another nozzle test to judge print quality.
7. Inspect Printhead Cables for Damage or Ink
With power isolated and the correct access procedure followed, a qualified technician should inspect:
- both cable surfaces and contact ends;
- connector housings, locks, and cable orientation;
- folds, cuts, worn edges, or heat discoloration;
- leaks near the printhead, damper, or fittings; and
- evidence of a previous spill or incomplete cleanup.
Ink on a printhead cable or inside a connector is a stop condition. Do not reconnect or energize the printer merely because the visible surface has been wiped. The cable may require replacement, and the printhead and headboard may need inspection for contamination or short-circuit damage.
8. Isolate the Printhead, Cable, and Board Channel: Technician Only
An authorized channel-isolation test can help determine whether a fault follows the printhead path or remains with a headboard channel. This is not a general DIY test.
Channel pinouts, cable orientation, head voltage, firmware assignments, grounding, and calibration requirements can differ even when connectors look similar. Move a printhead or cable only when the exact service documentation confirms compatibility and the test is authorized.
| Authorized test result | What it may suggest |
|---|---|
| The fault follows the printhead path to a verified compatible channel | The printhead or its local cable is more likely involved |
| The fault remains on the original channel with a verified known-good path | The headboard channel or upstream signal is more likely involved |
| A warning appears when one cable is connected | Inspect that cable and printhead path before another power-up |
| The result changes when the cable is moved | Cable contact, damage, orientation, or contamination may be involved |
These results guide further testing; they do not prove that a specific part should be replaced.
When to Stop Troubleshooting
Power down the printer and request technical support if:
- ink is present on a cable, connector, or board;
- the headboard displays a warning or unusual LED pattern;
- the printer smells hot, shows discoloration, or repeatedly trips a fuse or protection circuit;
- the failure began after a head strike, spill, or cable replacement;
- an entire head remains blank after the approved low-risk checks; or
- the next step would require moving a printhead cable, testing voltage, or opening a powered electrical area.
What to Include in Your Support Request
To shorten diagnosis time, send:
- printer model and serial number;
- printhead type and configuration;
- affected color, channel, or head;
- clear before-and-after nozzle-test photos;
- video of the headboard LED and display message;
- photos of the ink lines, dampers, cable area, and any leak;
- a short timeline of the event before the failure; and
- any authorized test result, including the connection map used by the technician.
XINFLYING’s DTF printer portfolio includes different printhead and production configurations. If the printer remains blank after the safe checks above, submit a diagnostic inquiry with the evidence listed above. This gives support a clearer fault history before you purchase a cable, board, or printhead.
Frequently Asked Questions
A blank output can result from an interrupted ink supply, air in the lines, restricted dampers, a poor cap seal, or blocked nozzles. Incorrect RIP settings, a cable fault, or a headboard problem can produce the same result. Start with the failure pattern and low-risk checks rather than replacing the printhead immediately.
White ink is more prone to settling and circulation-related problems. Check the required agitation or circulation system, ink condition, lines, damper, cap seal, nozzle pattern, and white-channel settings for the exact model. Do not rely on repeated cleaning cycles to correct settled ink or a circulation fault.
Yes. Ink movement at the capping station does not prove that every nozzle channel is open or that the head is firing electrically. Treat suction as one diagnostic observation, not a pass/fail test for the complete printhead system.
Follow the limit in the printer’s maintenance documentation. If one approved cleaning cycle produces no meaningful change, stop repeating the same action. Check ink delivery, cap sealing, nozzle condition, settings, and electrical warnings instead.
Not before checking the ink supply, damper, nozzle pattern, cable condition, settings, and model-approved diagnostic results. Replacing a head without correcting a contaminated cable or faulty board can damage the replacement part.
Sources and Technical Scope
- XINFLYING, A2 All-in-One Printer FAQ (internal bilingual technical document used for the A2-specific warning and diagnostic scope)
- XINFLYING DTF Printer Machines
- XINFLYING Support
This guide separates general owner checks from A2-specific service information. The A2 indicator behavior above comes from the internal A2 FAQ. Check it against the current service manual for the exact printer model and configuration.
This article is not a substitute for a model-specific service manual. Qualified technical personnel should perform or authorize model-specific electrical tests.