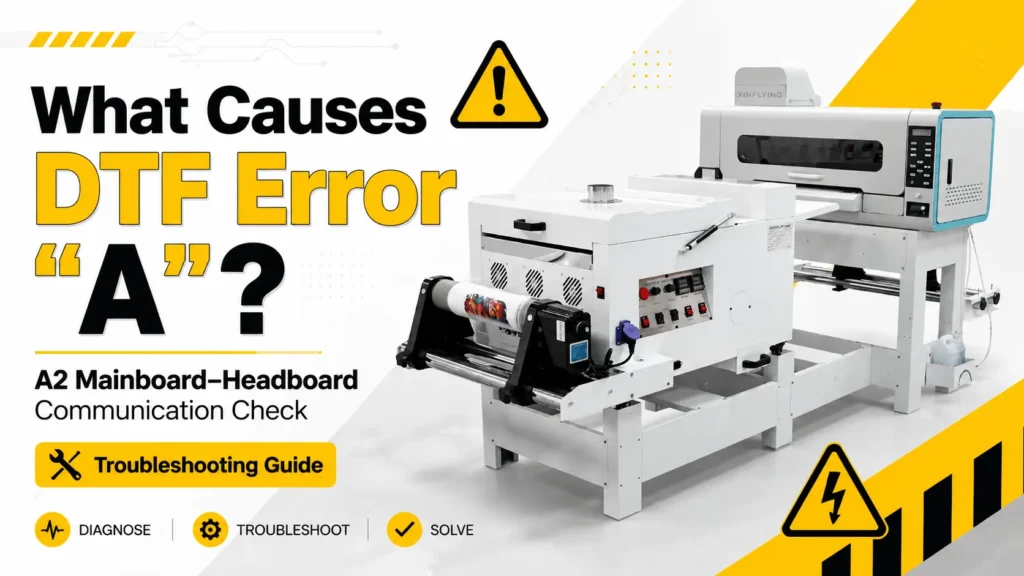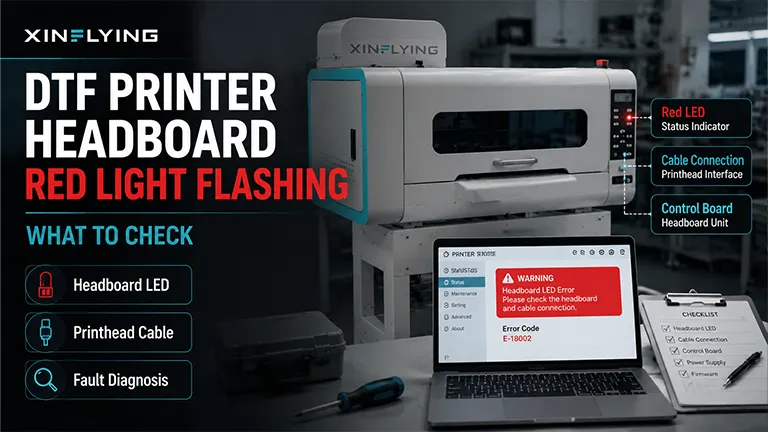
A DTF printer headboard red light should be treated as a stop signal until its model-specific meaning is confirmed. On the XINFLYING A2 All-in-One Printer, the technical FAQ directs technicians to inspect the printhead cable connections and isolate the headboard, cables, and printheads. Other models may assign a different meaning to a red LED, so do not replace a board based on the light alone.
The safest response is to preserve the evidence, shut the printer down, and complete only external checks. Cable reseating and electrical isolation tests should be handled by a trained technician using the service procedure for the exact printer model.
Do These Four Things First
- Stop printing and record when the light appeared.
- Photograph the headboard LED and any control-panel or software message.
- Power the printer off using the normal shutdown procedure.
- Do not unplug or reconnect a printhead cable while power is present.
Printhead and headboard connections carry sensitive signals. A misaligned or partially inserted cable can damage expensive components. Ink on a cable or connector increases the risk.
What the Red Light May Indicate on the A2
The XINFLYING A2 technical FAQ groups the likely causes into three areas:
- Poor contact at a printhead or headboard cable.
- A damaged cable or printhead.
- A damaged headboard.
This list does not prove that any one part has failed. A reliable diagnosis changes one controlled variable at a time and records whether the warning returns. The correct test sequence depends on the model.
Checks an Operator Can Perform Safely
An operator can collect useful evidence without opening electrical connections:
- Confirm whether the light is steady or flashing.
- Note whether it appears at startup, during cleaning, or when a print begins.
- Check for a recent head strike, ink spill, cable replacement, or maintenance event.
- Look for visible ink near the printhead cable area without touching it.
- Record any unusual smell, sound, or heat.
If you see liquid on a connector, smell overheated electronics, or hear arcing, keep the printer powered off. Contact XINFLYING support and do not restart the machine to see whether the warning clears.
Technician Step 1: Inspect and Reseat Cables With Power Isolated
The A2 document identifies poor cable contact as the first possibility. A trained technician should follow the model-specific shutdown and discharge procedure before inspecting cable orientation, contact surfaces, connector locks, and insertion depth.
The document includes an important control: inspect and reconnect one cable path before moving to the next. If several cables must be removed under the approved procedure, label both ends and their positions first. This reduces the risk of cross-connection.
Before restoring power, the technician should confirm that every cable is:
- In the correct socket.
- Oriented correctly.
- Inserted fully and evenly.
- Secured by the connector lock.
- Dry and free of visible contamination.
Never scrape cable contacts or clean them with an unapproved solvent. Replace a damaged cable only with a verified model-compatible part.
Technician Step 2: Use the Model-Approved Isolation Procedure
For the A2, trained technicians may use a board-level isolation procedure to determine whether the warning follows the headboard or one printhead path. The exact disconnection sequence, test conditions, and restart steps are intentionally not provided here because they must match the service documentation for the specific printer.
Some printers require particular loads, terminators, firmware conditions, discharge times, or connection orders. Using the wrong procedure can damage a board, cable, or printhead. Ask XINFLYING support for the approved test sequence before performing an electrical isolation test.
Record the results without treating one LED observation as final proof:
| Model-approved test finding | What it may suggest | Next action |
|---|---|---|
| Red light remains during the specified board-isolation test | Headboard becomes the primary suspect | Confirm the result against the service manual and support guidance |
| Red light clears during the specified isolation test | Investigate a cable, channel, or printhead | Continue only with the approved one-path-at-a-time procedure |
| Warning follows one printhead path | Cable or associated printhead becomes more likely | Inspect and test the compatible cable first |
| Warning remains on the same path with a verified compatible cable | Printhead fault becomes more likely | Stop and request professional evaluation |
The wording «may suggest» is deliberate. Replace a headboard or printhead only after model-specific testing confirms the failed component.
Cable Damage Versus Printhead Damage
When one path triggers the warning, inspect the cable before concluding that the printhead has failed. Check for:
- A torn conductor or damaged edge.
- A distorted contact pad.
- An incorrectly folded cable.
- Ink staining or moisture.
- A connector lock that does not hold evenly.
Use only the correct replacement cable. If the warning remains with a verified compatible cable and correct connection, the printhead may require professional evaluation or replacement.
Information That Helps Remote Diagnosis
Include the following in your inquiry:
- Printer model, serial number, and printhead configuration.
- Photo or video of the LED behavior.
- The exact stage when the light appears.
- Any related display code or software message.
- Recent cable, printhead, board, or ink-system work.
- The technician’s isolation record, if an approved test was performed.
Frequently Asked Questions
The meaning depends on the printer model and control-board design. On the XINFLYING A2, the technical FAQ points technicians toward cable contact, cable or printhead damage, and the headboard itself. A red light identifies a fault condition, but its color alone does not identify which component has failed.
Record the LED behavior and any error message before using the normal shutdown procedure. Do not repeatedly restart the printer, and never reconnect a printhead cable while power is present. If the warning returns after a normal restart, keep the printer off and request model-specific guidance.
A trained technician first inspects cable condition, orientation, and connection with power isolated. If the visible checks do not identify the problem, the technician can use the model-approved isolation procedure. The result may narrow the fault to the headboard or one printhead path, but support should confirm the diagnosis before parts are replaced.
Ask XINFLYING Before Replacing a Board or Printhead
XINFLYING’s DTF printer machine range includes multiple configurations, so LED behavior and test procedures are not necessarily identical. If the DTF printer headboard red light remains after the safe checks above, submit an inquiry. Include the printer model, serial number, error message, LED video, and recent maintenance history.
These details help the support team confirm the next safe diagnostic step before you order a headboard, cable, or printhead.
Sources and Technical Scope
- XINFLYING, A2 All-in-One Printer FAQ , an undated bilingual internal technical document supplied as the primary technical basis for this article.
- XINFLYING DTF Printer Machine
- XINFLYING Support
The fault categories in this article come from the A2 technical document. The article intentionally omits actionable board-isolation instructions and does not replace the service manual, discharge requirements, connection sequence, or test conditions for a specific printer configuration.